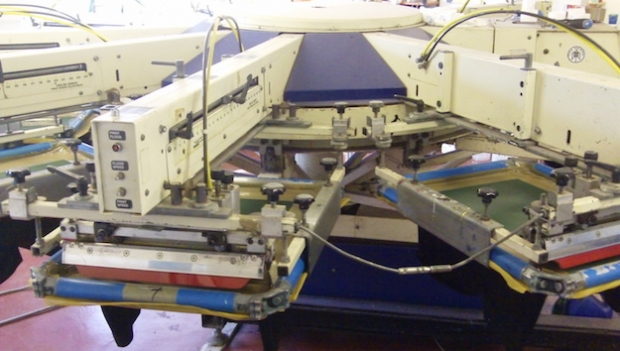
When printing discharge inks, temperature and the length of time the print is in the dryer is of paramount importance.
CPS William Shorter and Liam Stubbings of Pyramid Textiles look at tips and recommended practices for the printing process element of discharge printing.
We continue the spotlight on Discharge Printing, with William Shorter, Product Manager CPS – Chemicals Products and Services and Liam Stubbings of Pyramid Textiles.
For this part of our how to screen printing guide, we share some recommendations and methods for discharge printing and requirements you need to address in order to achieve quality results.
First, let’s take a look at the considerations needed for selecting the right products:
What type of garment material should I choose?
You should only use 100% cotton or a cotton/polyester blend that contains less than 50% polyester. The first stage of discharge printing causes dyes in the cotton fabric to be deactivated and works by a process of ‘bleaching’ the fabric down to its natural colour, a slightly off-white, and this is only feasible with these types of fabrics.
Top tip: To check compatibility, print a correctly mixed proportion of discharge additive and clear base onto your fabric, dry and cure, then look at its appearance. You should see an ivory white look to the print, if however it appears darker or brown in colour then the garment is definitely not suitable.
Platen adhesives – aren’t they all good?
We highly recommend a water based platen adhesive for textile Discharge Printing as these offer much greater benefits in use versus aerosol based spray tacks. They are better for the user, your machinery, and the environment and last longer in use, saving you down-time during printing.
What ink should I choose?
Not all discharge inks are the same. Some are designed to give an ultra-low hand (feel) and other inks are formulated to give a slightly harsher feel but with a brighter look. The most important consideration is to understand what visual and tactile result your customer is looking to achieve in the final printed garment.
An assured way for both you and your customer to understand and agree on this is to provide swatch samples that demonstrate the range of final effects that are achieved through the use of different inks.
Going Green?
If you’re looking to provide printed garments that are produced using greener sustainable products then you could consider an ink system that is approved by trade associations such as GOTS, bluesign and OekoTec.
Next let’s look at a couple of process tips for the printing stage:
1. Use the correct amount of squeegee pressure
In order to obtain a nice bright, soft print, it is important use the correct amount of squeegee pressure. Too low and you will only get a partial print, too high and you may crush the fabric and smear the image.
Top tip: After curing turn the garment inside out and check to see if you can see the image on the inside. If you can this means you have achieved a full level of ink penetration.
2. Get the dryer temperature correct
When printing discharge inks, not only the temperature of the dryer but also the length of time the print is in the dryer is of paramount importance. The ink needs to be in the dryer for a minimum of 90 seconds at 160°C.
Always double check the temperature that the garment reaches using temperature strips periodically. Never rely solely on the reading of your dryer being accurate especially if it hasn’t been calibrated or serviced recently.
This now leaves you with the question – have I got it right?
Firstly, are the colours vibrant and as expected by the customer? Is the ‘feel’ right and does it meet customer expectations and how durable will the printed image be?
The only viable method to ensure that your garment has been successfully printed and cured is to test it yourself. To do this take one of your printed garments and wash it at the recommended temperature and check that your image is as you expected it to be.
If you have been able to achieve all of the above, getting it right first time and using safer consumables with low environmental impact, you can give yourself a pat on the back!
www.fespa.com


